Contents |
Getting Started
Config File
If you do not need to change your server port before starting Crafty have no fear...Crafty will create this config file for you. Just start the web app up.
IF you need to change that port or would like to create the config file before Crafty starts you may do so.
Creating config.json
Inside of app/config create a file called config.json (if you are a linux user please, please, please, make sure you are doing this as the Crafty user).
The new json file should be formatted as follows:
{
  "http_port": 8000,
  "https_port": 8443
}
Changing Crafty Port
You can change the Crafty port before launching Crafty see Creating Config.json above
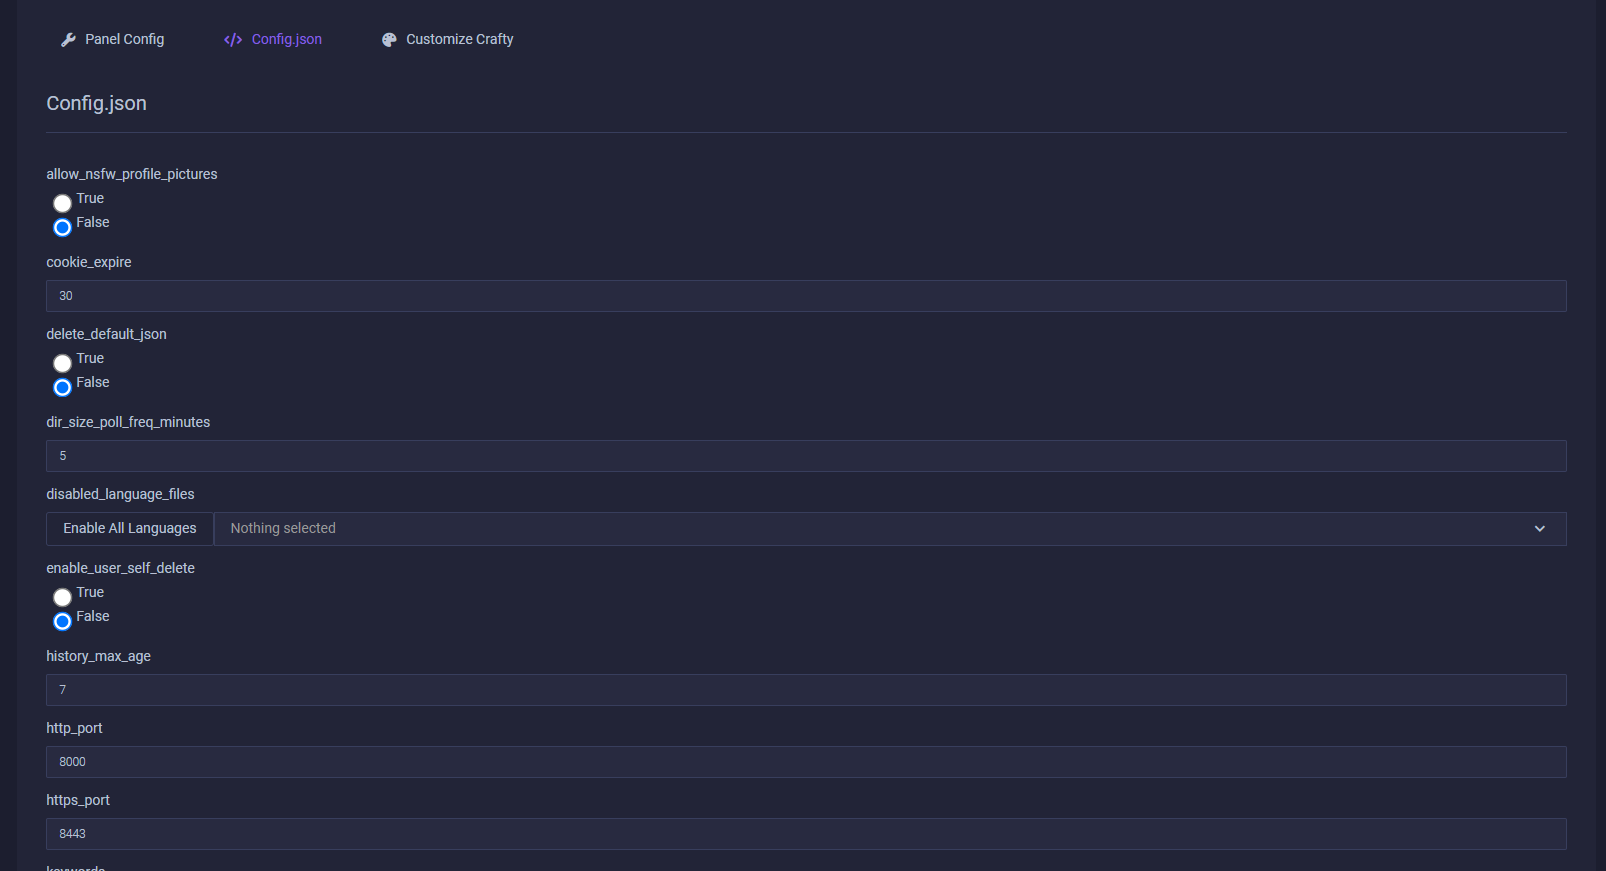
After starting Crafty you can change the port in config.json using the web ui by clicking the setting cog in the top right then clicking config.json.
Adjust the https_port option:
Accessing Crafty
Crafty makes use of the hypertext transfer protocol secure to protect your personal data. When accessing Crafty you must explicitly type https when entering Crafty’s address in your browser. i.e. https://127.0.0.1:8443.
Crafty can be accessed via localhost, 127.0.0.1, and your machine’s IP address, but again, you must type https:// before the address.
Logging In
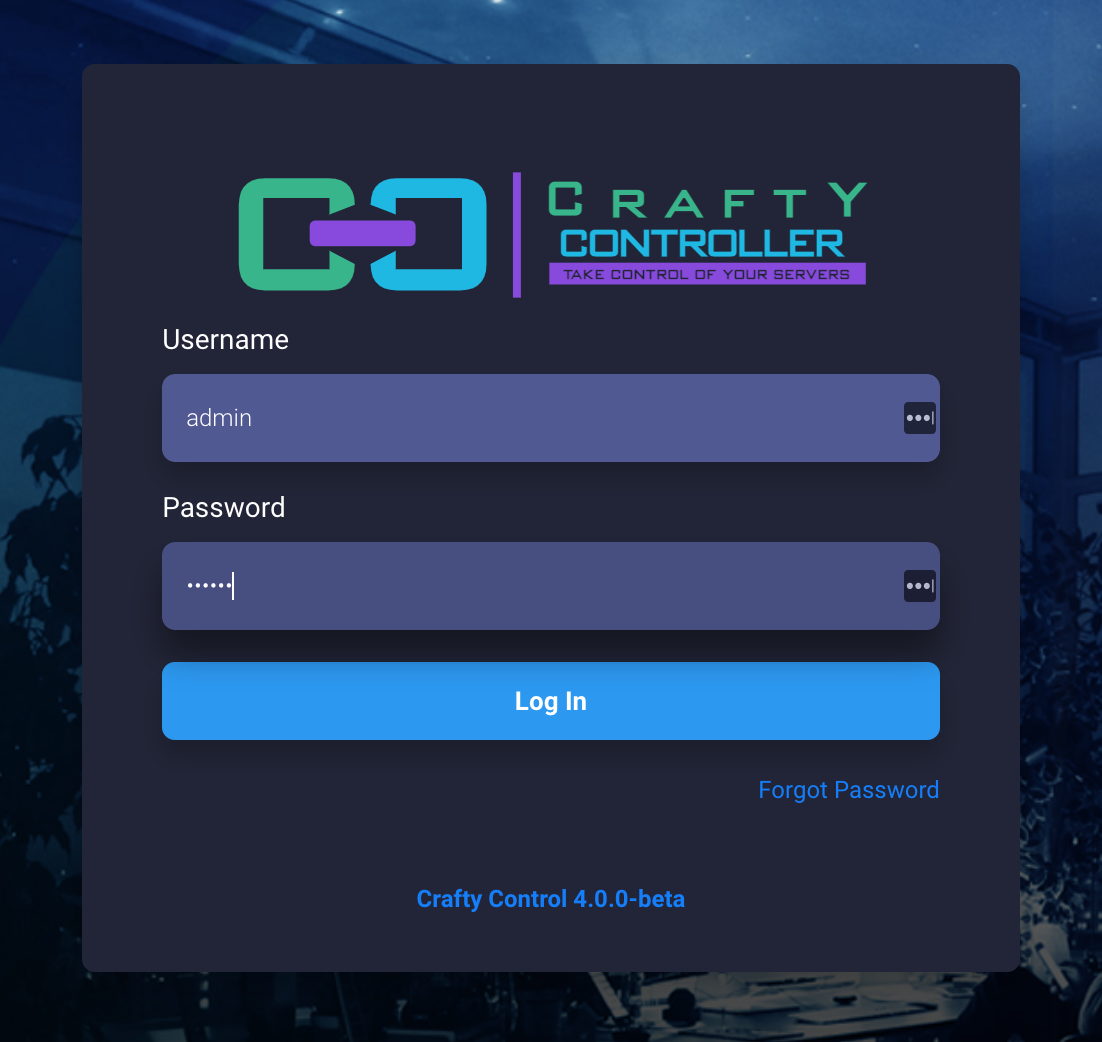
Once you reach the Crafty webpage you will be greeted with a login screen. The default credentials can be set in default.json before the first run:
- Username: admin
- Password: located in app/config/default-creds.txt
We highly recommend changing this immediately after logging in.
Welcome to Crafty
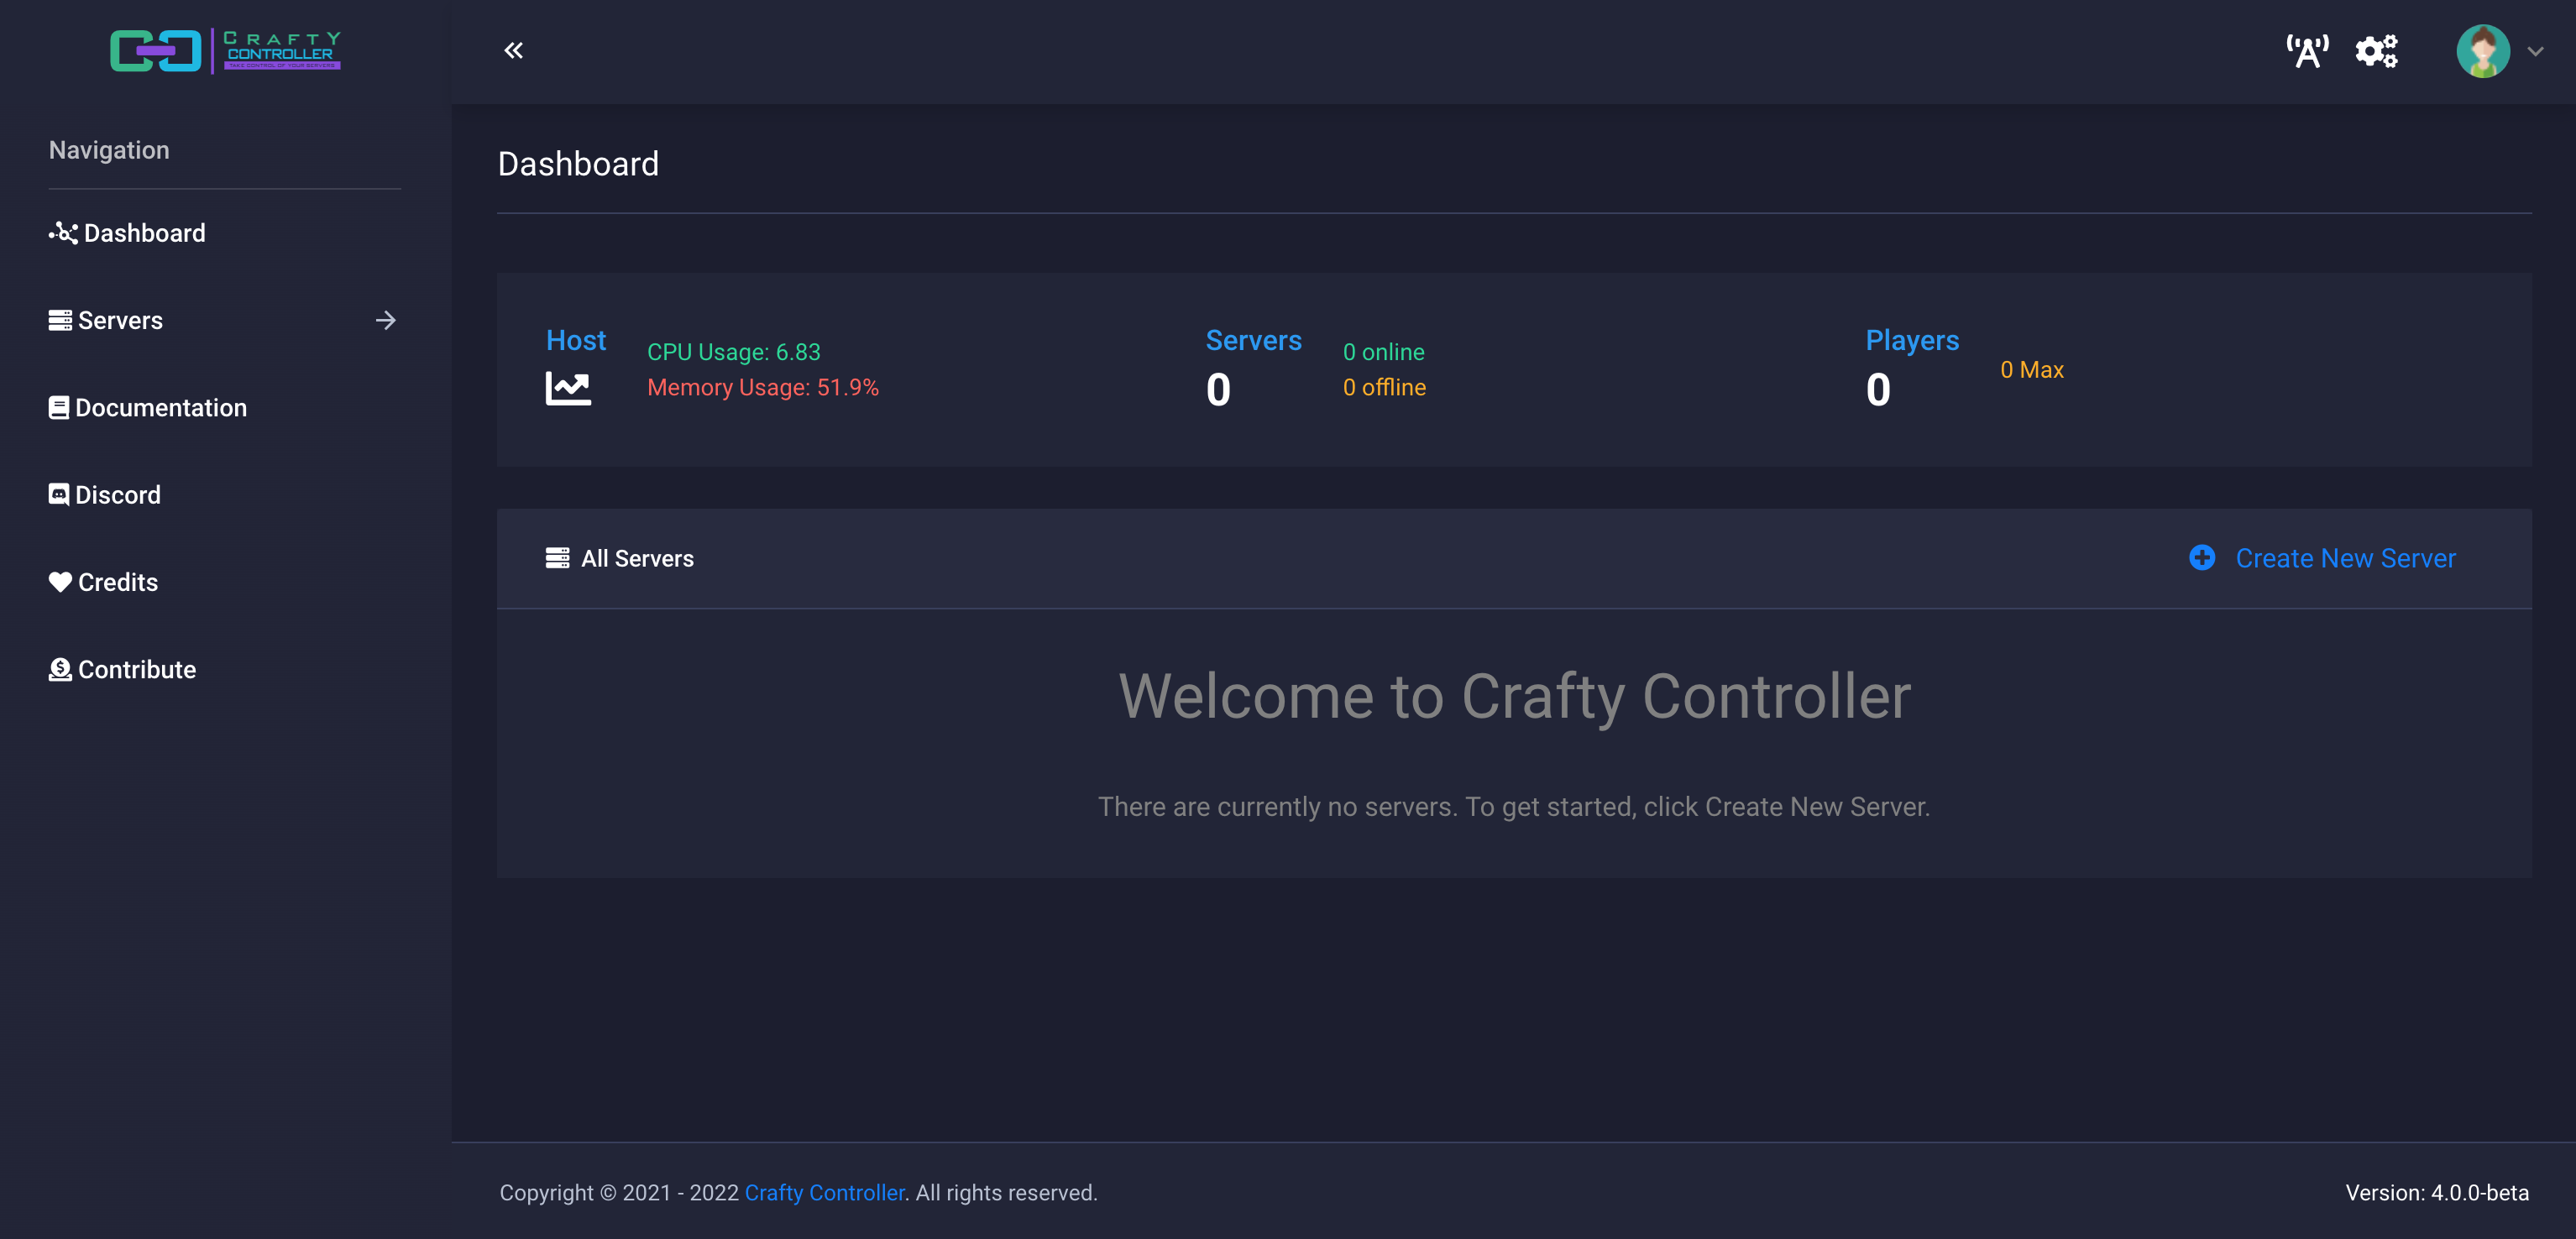
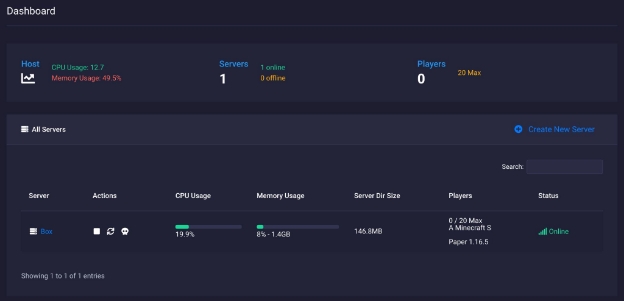
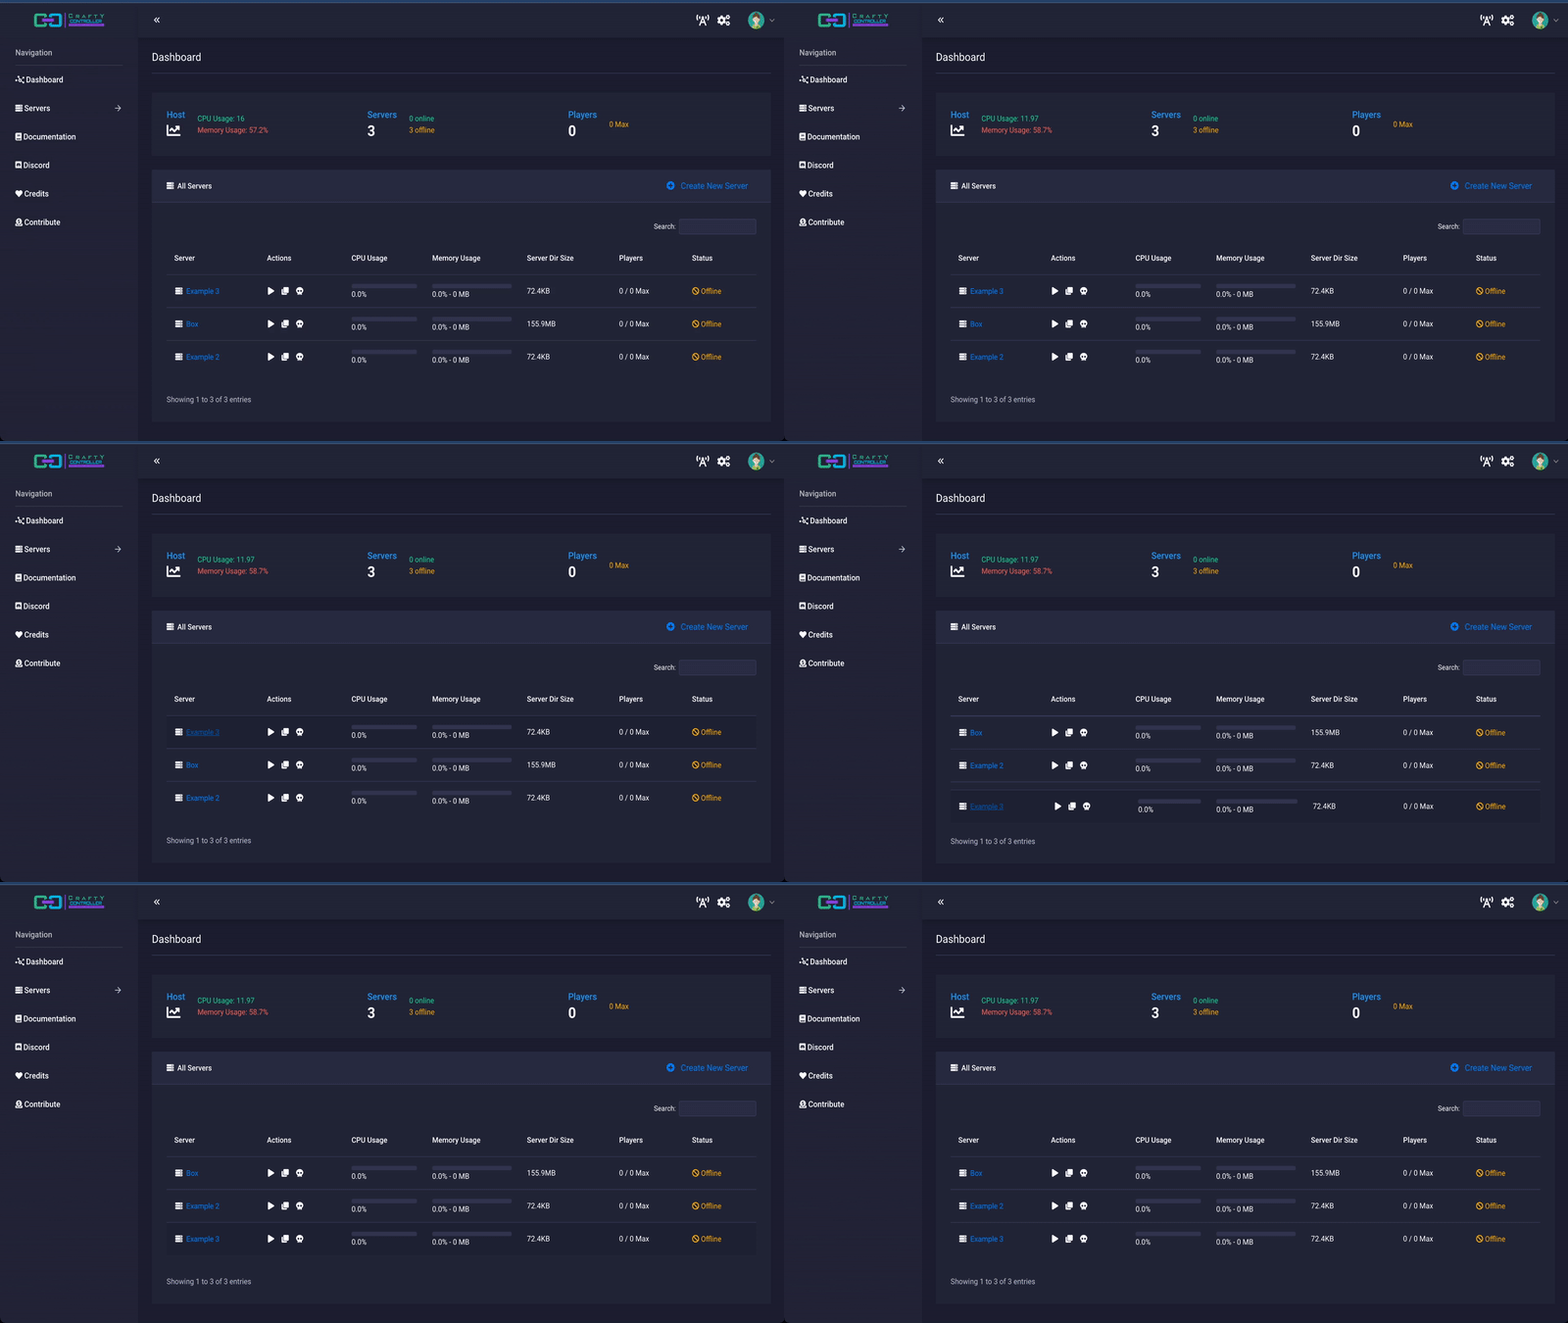
Once you are logged in you will see this welcome screen. This is your dashboard. From here you can access settings pages and create servers.
When you have servers created, you will see them appear here.
Editing User Settings
Let’s edit your password.
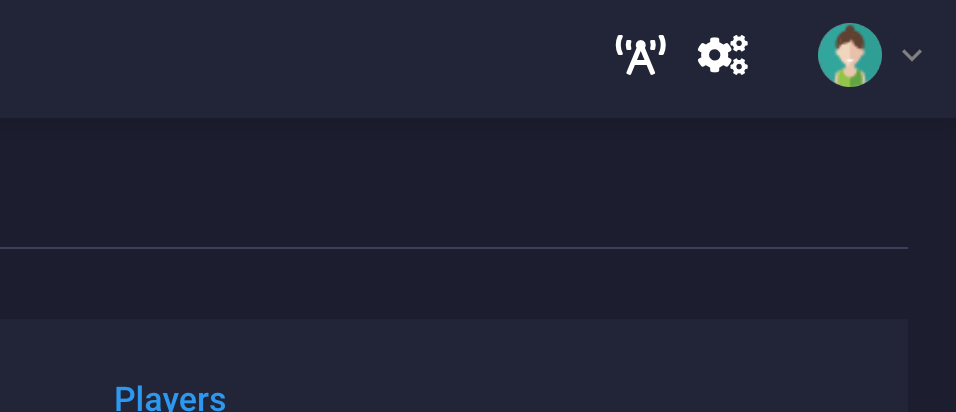
Click the gear icon in the top right of Crafty:
Next we’ll click the pencil icon to edit this user:
Here we are able to edit username, password, profile photos, language, and get API Keys. Super users are also able to edit user roles and permissions here.
Creating Servers
Warning
DOCKER/UNRAID USERS:
The only directory you can import servers from is the /import mount. DO NOT TRY TO ADD FILES TO ANY OTHER MOUNT OR PERMISSIONS WILL GET MESSED UP!!
Information on mount points can be found here:To create a new server you may click *Create New Server* on the dashboard or on the side panel under servers.
You will be greeted with a screen that gives you many options:
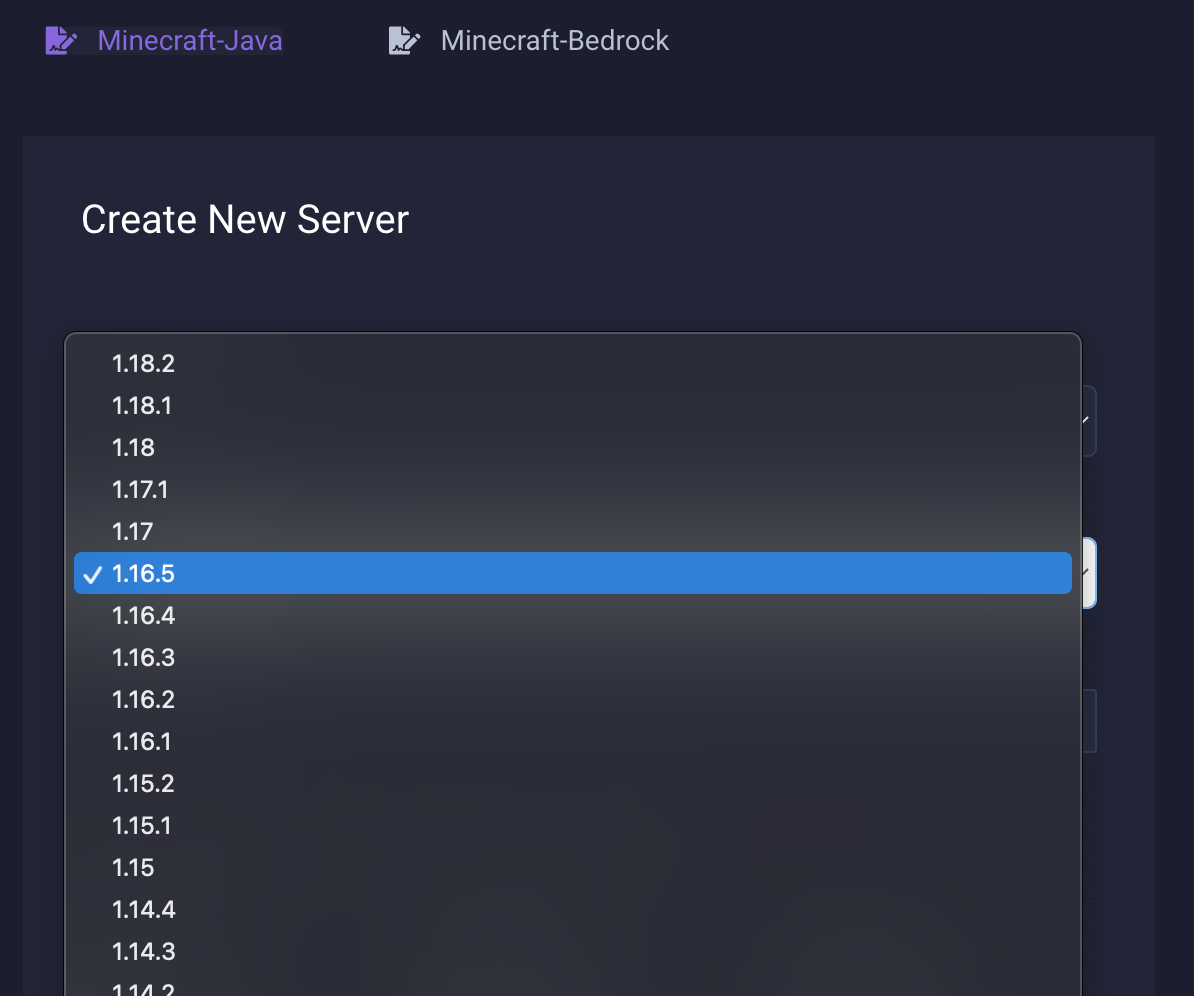
Bedrock or Java
- Crafty 4 allows you to choose Minecraft Java or Bedrock.
- Select this by choosing Minecraft-Bedrock or Minecraft-Java on the top navigation once you are in server creation.
Create a new server
- This is a server creation tool. It gives you many options for servers to create. You can choose any of these and Crafty will download the jar file and set up the server.properties file with your designated port.
- Near the bottom you will designate your min/max ram and designate a port. You can also choose to add the server to an existing role using the dropdown.
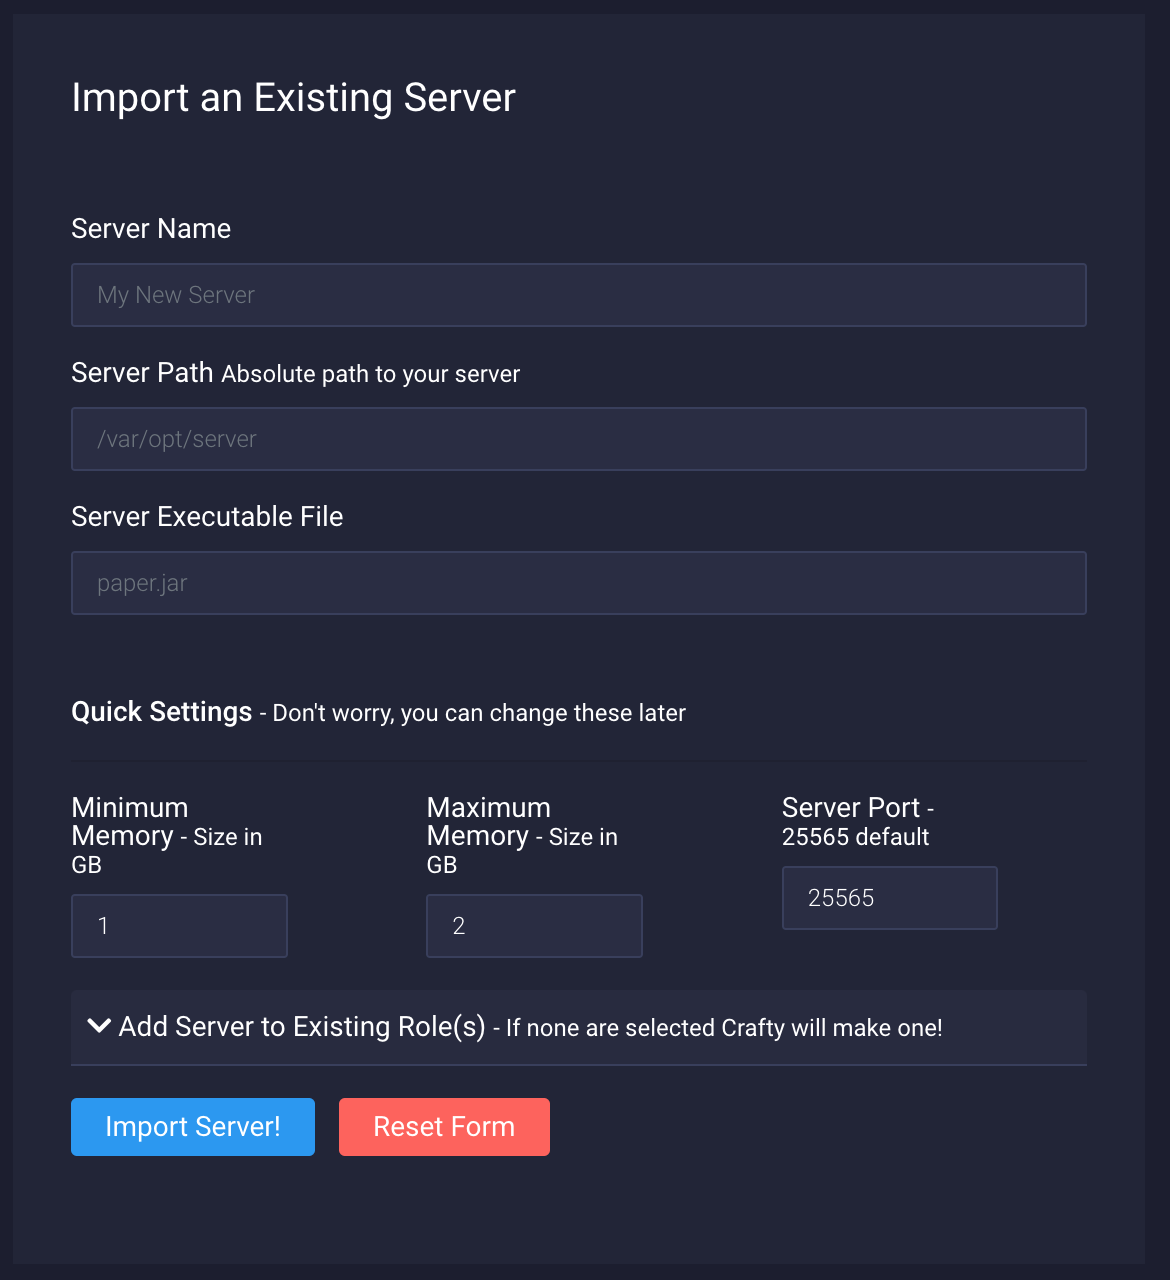
Import server
- This is an option to import a server that already exists on your harddrive.
-
Here you must provide a few bits of information:
- The path the files currently live in.
- The name of the executable file in that server directory.
Import a server .zip
- Here we just need the path where the .zip file is located.
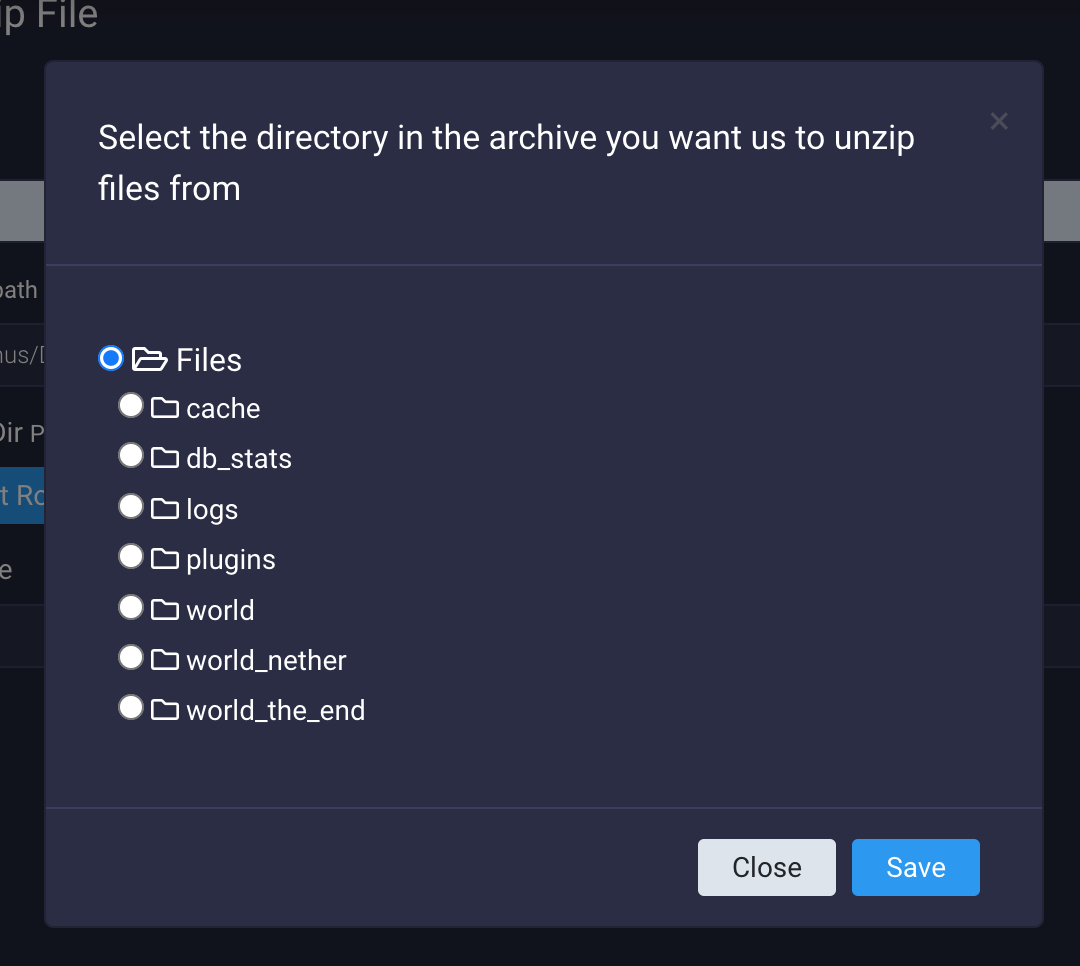
- Once entered, click on "Click here to select Root Dir"
- You will be directed to a setup screen. Here, you will select the directory you want as your root directory for your server. The root directory in this archive is the one I want as the root directory on my server so I’ll just keep “Files” checked off.
Starting a server
You can start a server from the terminal by clicking the start button or from the dashboard by clicking the play button.
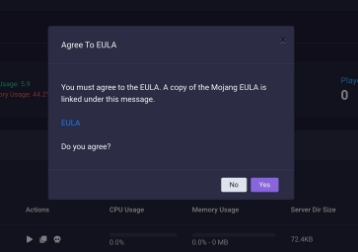
If this is your first time starting the server you will be met with the dialogue, asking you to confirm you have read and agreed with Minecraft's EULA. If you press "yes", we will agree to the ELUA and start the server for you.
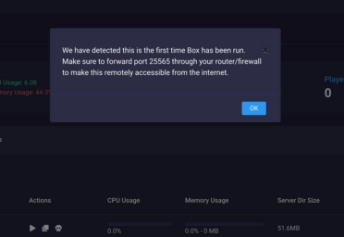
Crafty will give a quick reminder to make sure your ports are forwarded if you want to access it remotely.
At this point, we have a running server! 🎉Server Configuration
Changing Java Version
You should have at least a moderate understanding of system directories and executables in the OS of your choosing if you plan to use a custom Java executable. The following steps are merely guidelines and the examples may not work for your particular system and path.
If you need to change the Java version your server is running with:
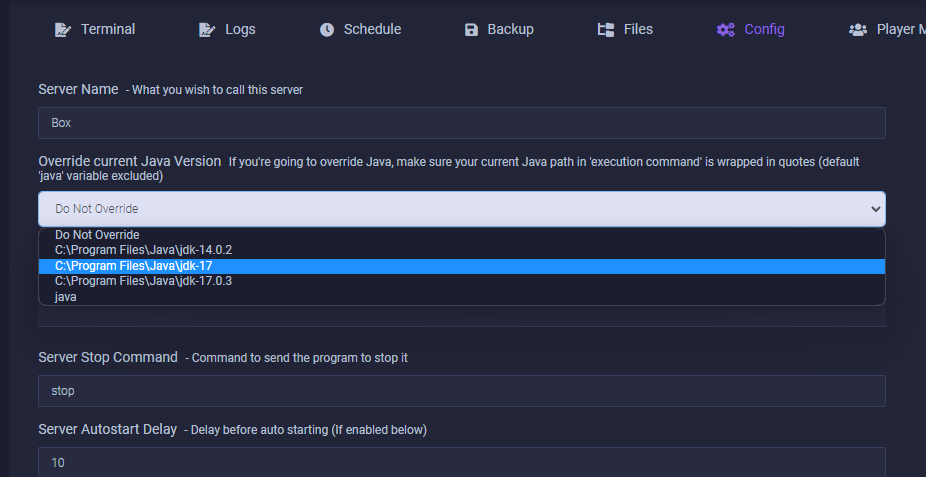
- You system may have the capabilities to support our Java override feature. If it does you'll see a list of java paths in the dropdown.
- Select your desired java version
- Click on the server in the dashboard
- In the top navigation, click 'config'
- Change the command from 'java' to the full path to your preferred java executable. For example, if using OpenJDK 16, you might use one of the following paths, depending on your OS:
/usr/lib/jvm/java-16-openjdk-amd64/bin/java
C:\Program Files (x86)\Common Files\Oracle\Java\java.exe
Scheduled Tasks
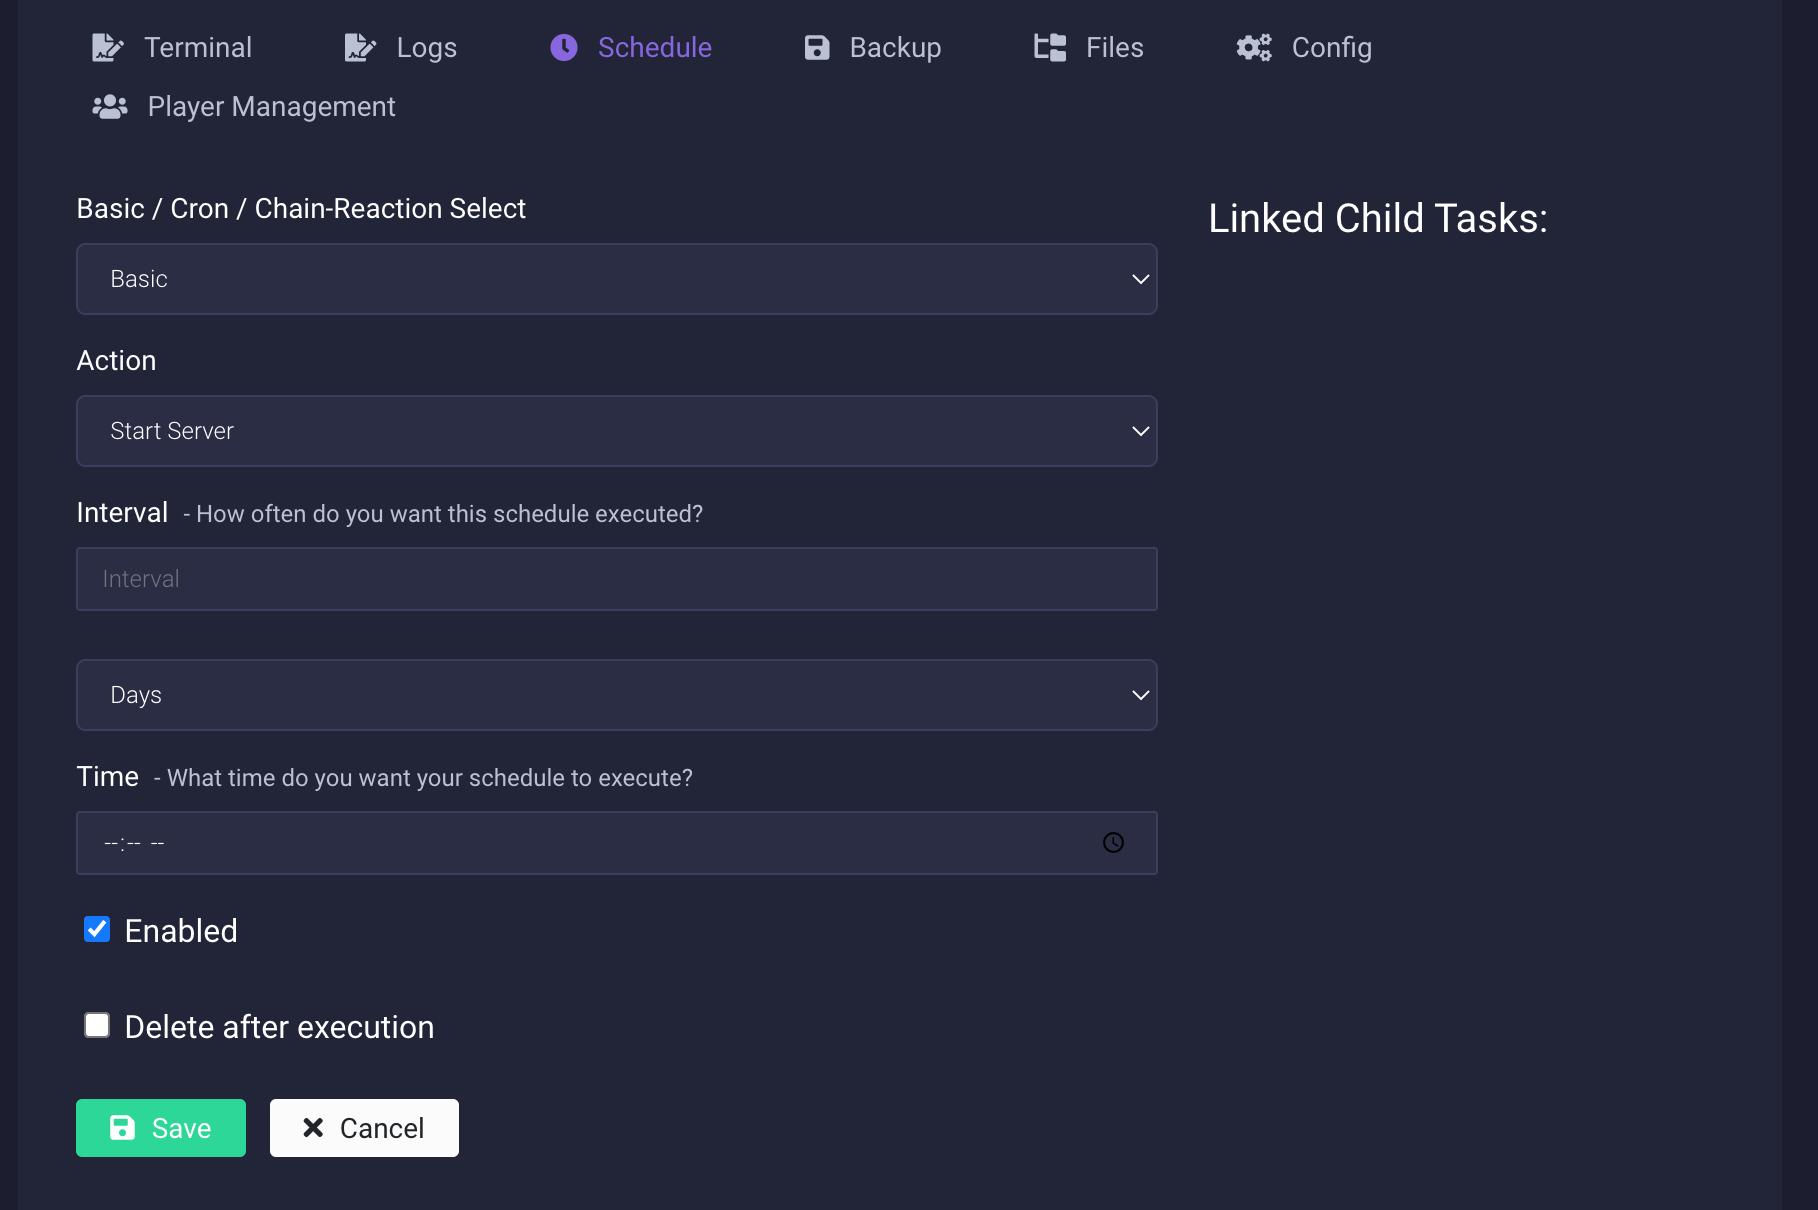
- Click "Create New Schedule"
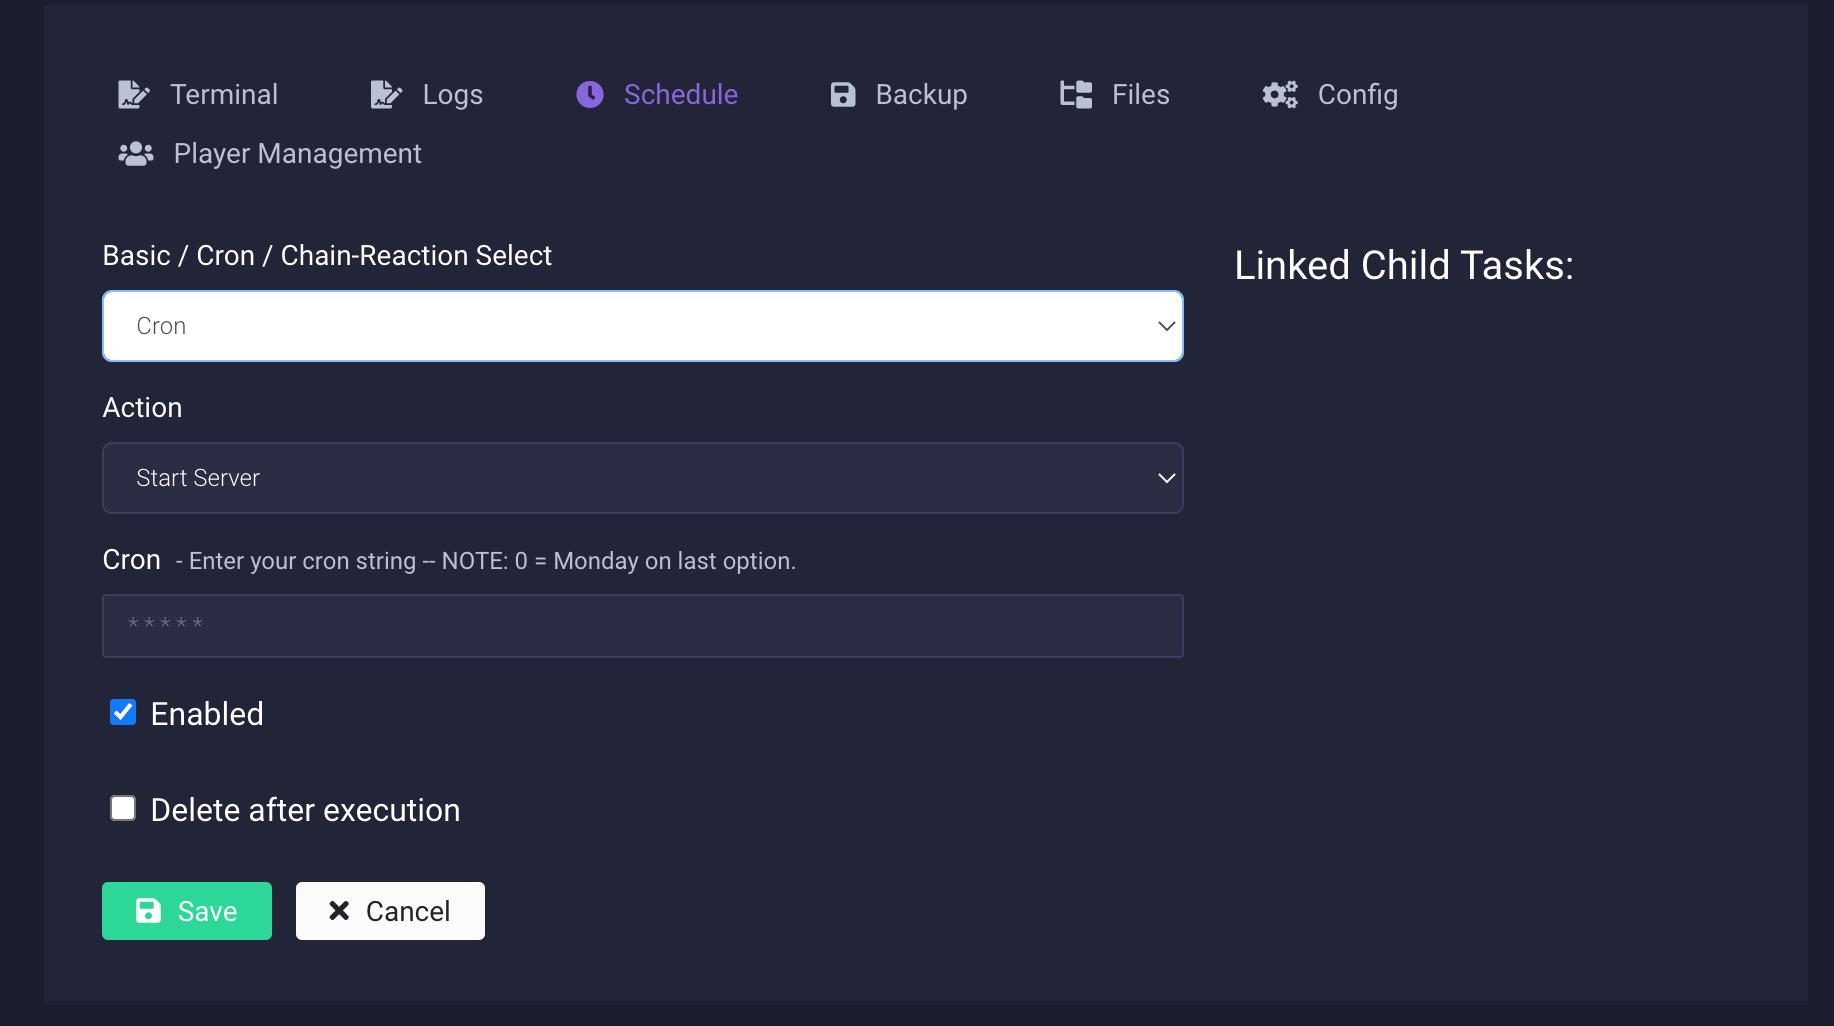
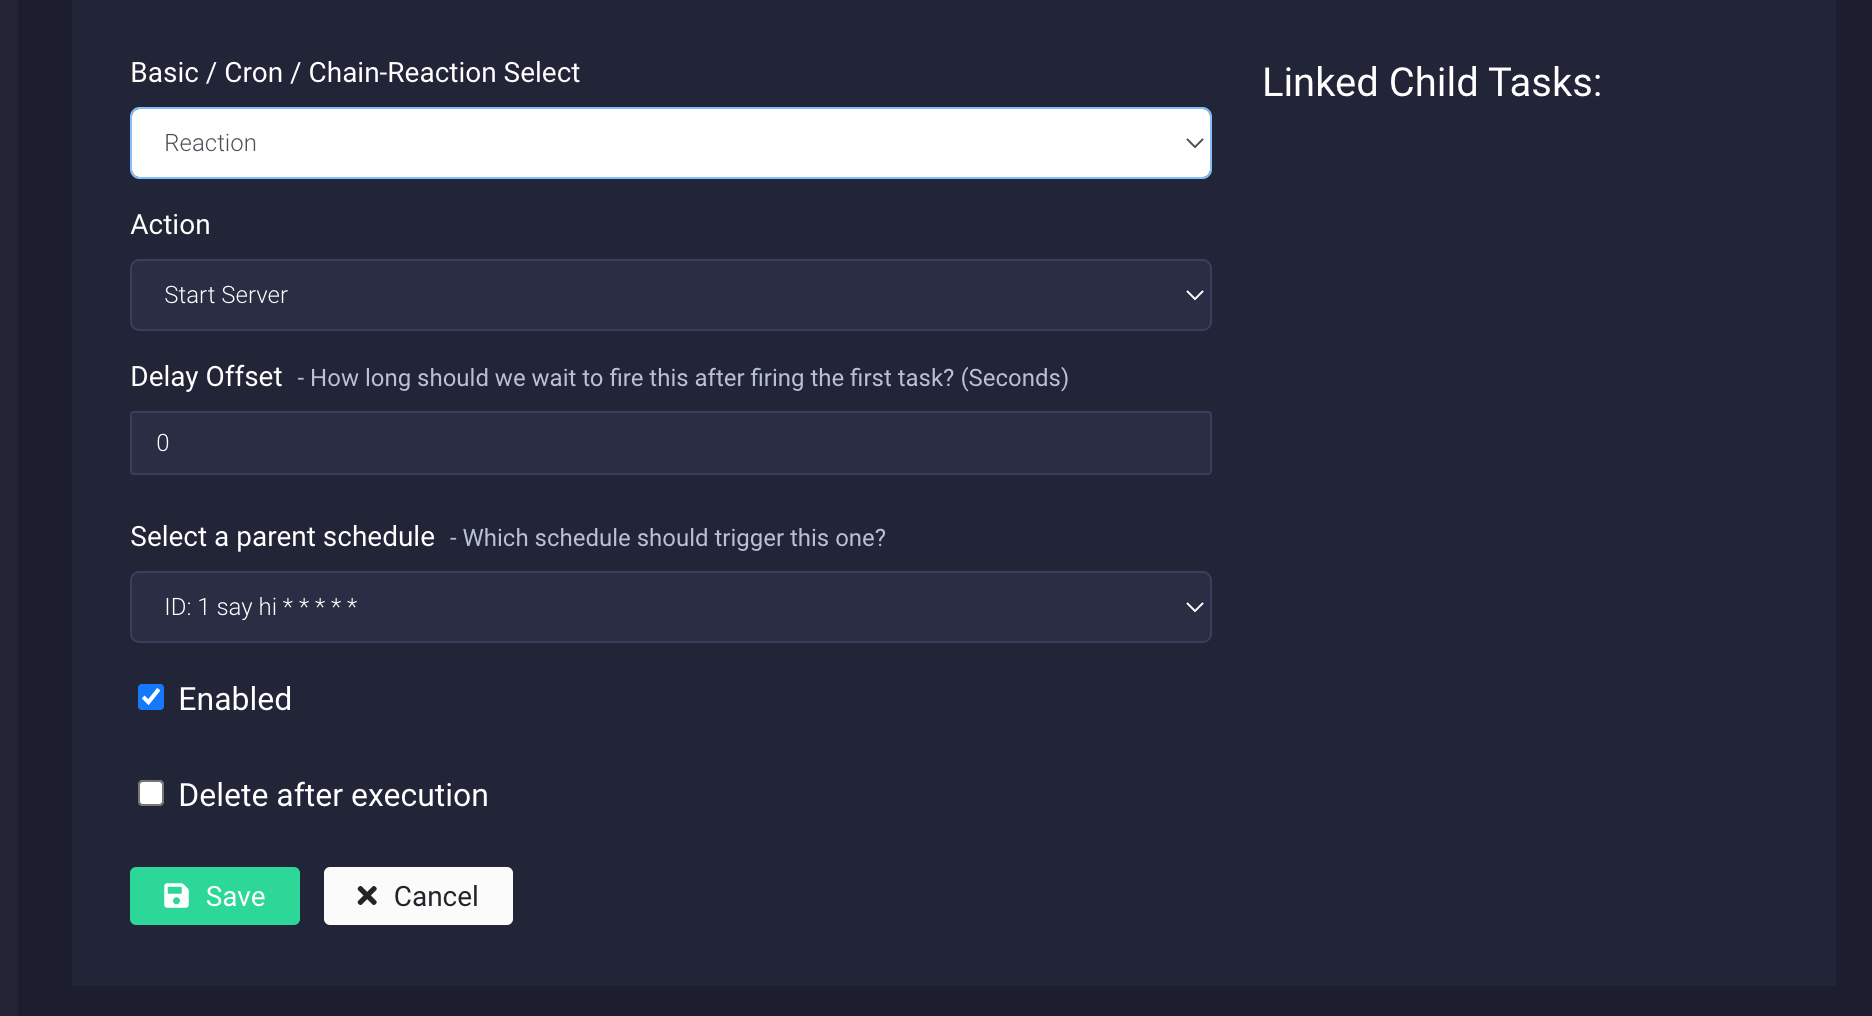
- Choose Whether you want this to be basic, cron, or chain reaction
- Basic - Crafty will break down all the scheduling triggers for you.
- Cron - You will manually use a cron string to set the trigger.
- Trigger - This schedule will run after its linked schedule runs.
Options will appear and disappear depending upon user's configuration options
Basic
- Action - What task do you want your schedule to complete?
- Interval - How often would you like this schedule to trigger? (This will take an integer)
- Delete After Execution - This would only be triggered one time. Crafty would delete the schedule after execution when this is checked.
Cron
- Cron String - This is a validated cron string. For more information on cron please visit https://www.geeksforgeeks.org/crontab-in-linux-with-examples/
For help creating cron strings we recommend https://crontab.guru/.
- Delete After Execution - This would only be triggered one time. Crafty would delete the schedule after execution when this is checked.
Chain Reaction
- Action - What task do you want your schedule to complete?
- Delay Offset - How long Crafty will wait after completing the parent schedule before firing this one.
- Select a Parent Schedule - The schedule that will trigger this schedule upon it's completion.
- Delete After Execution - This would only be triggered one time. Crafty would delete the schedule after execution when this is checked.
Backups
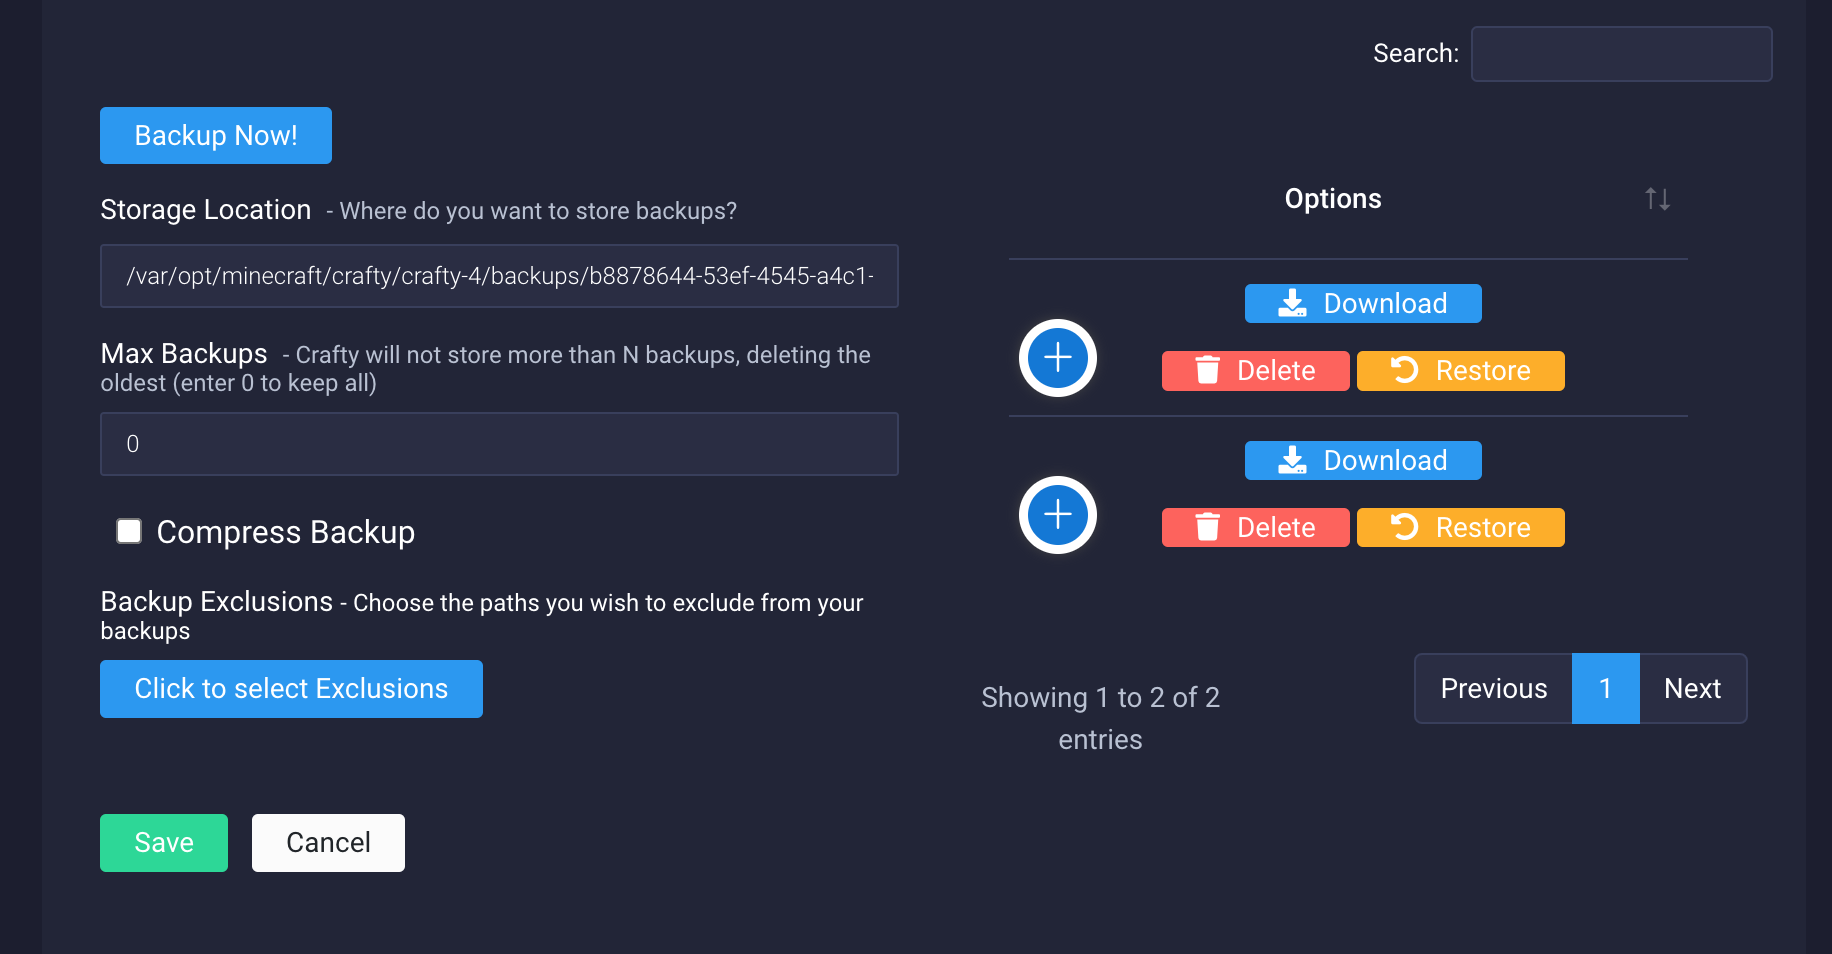
Setting Backup Config
- Super Users are able to set the backup path. You may choose a custom path.
- Max Backups: This is the number of backups you would like Crafty to keep.
- Compress: Choose whether or not you would like Crafty to compress your backups for you.
- Backup Exclusions: Click the "backup exclusions" button to open a menu where you select what paths to exclude in your backup. Excluded paths will be listed below in the backup menu.
Creating a Backup
- Once your backup config is set click “backup now”.
- Backups will take a while for large deployments. There will be a status indicator shown on the backup page while a backup takes place.
Restoring a backup
Click restore backup. This will delete the previous server installment and create a new one based off the backup.
Files
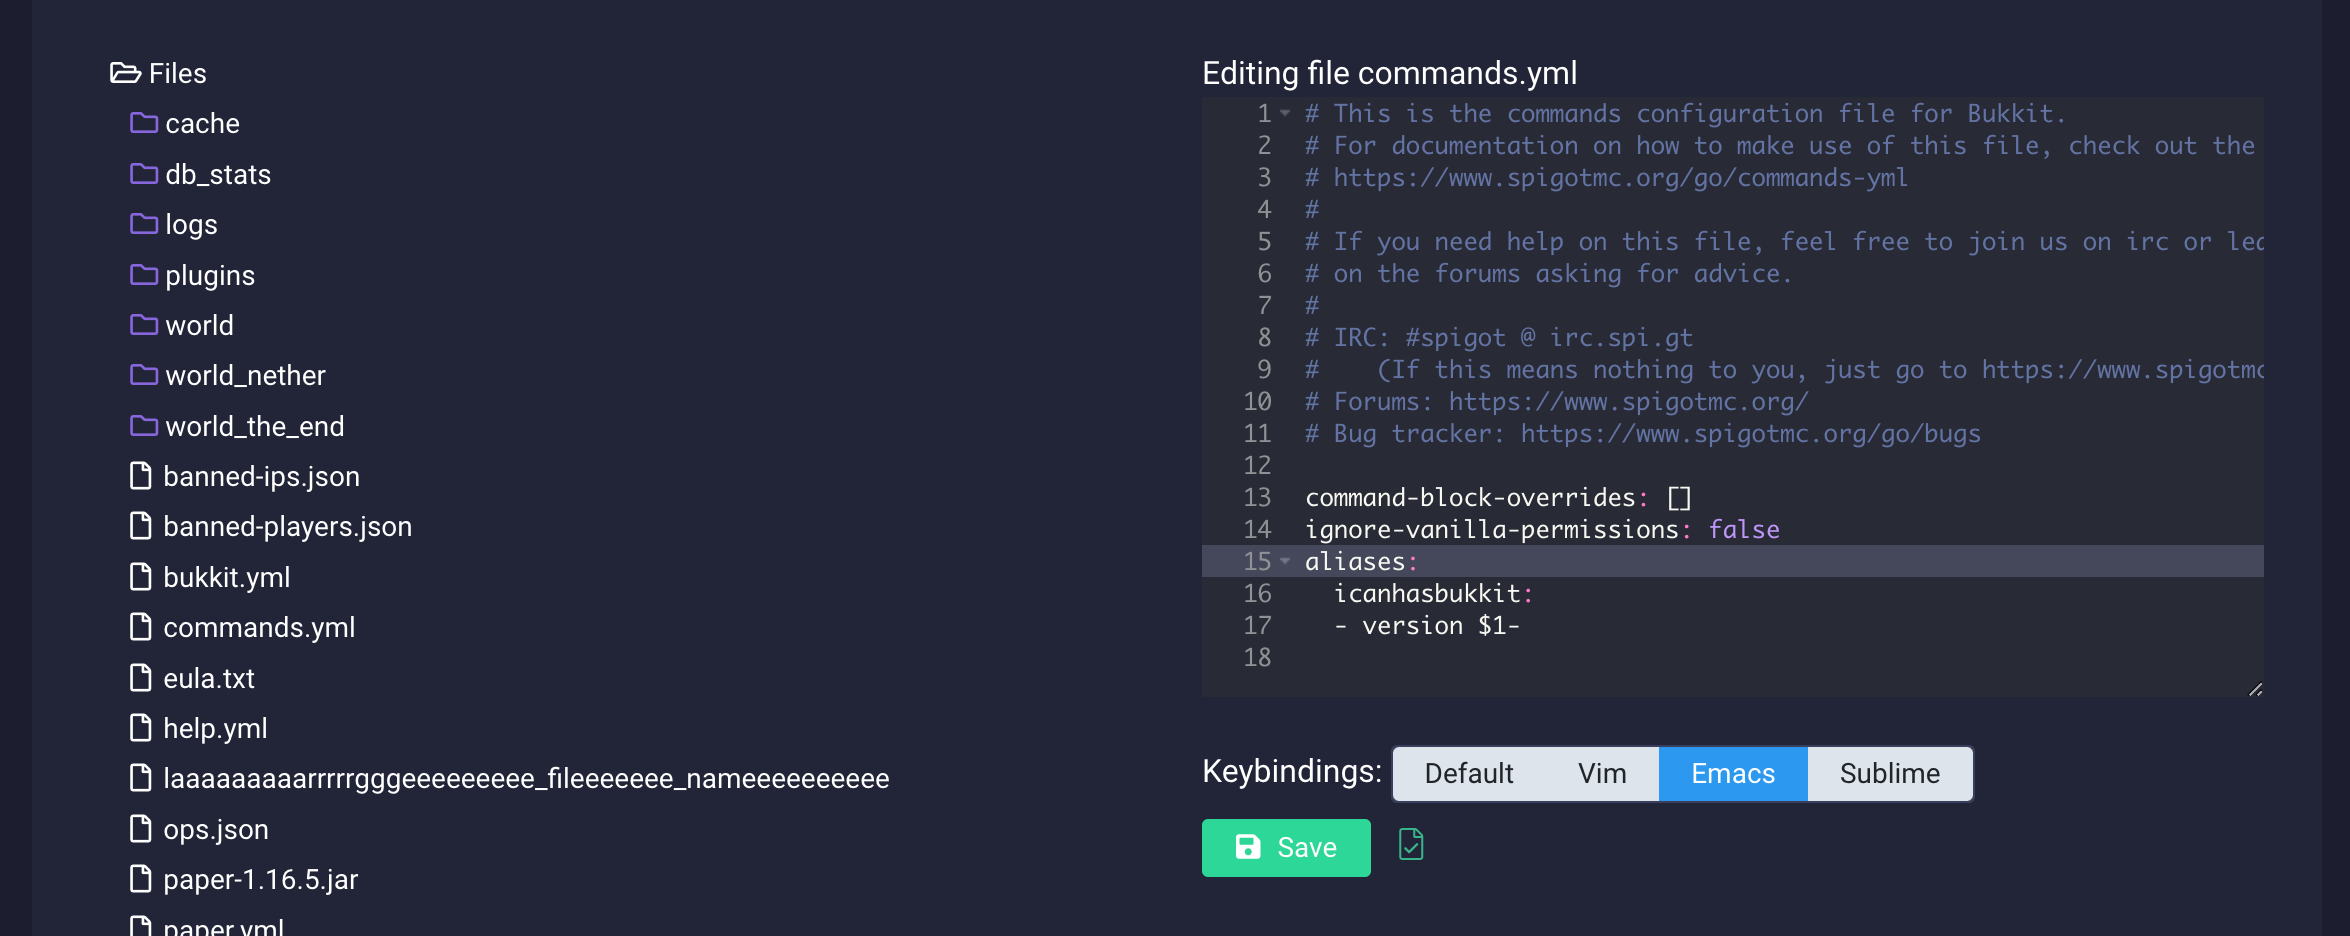
- To expand a directory click on the name of the directory
- To open a file in the editor click on the file. The file icon at the bottom of the editor displays save status. Green with a check mark means saved. Gray with no check mark means unsaved. This editor support ctrl + s for saving.
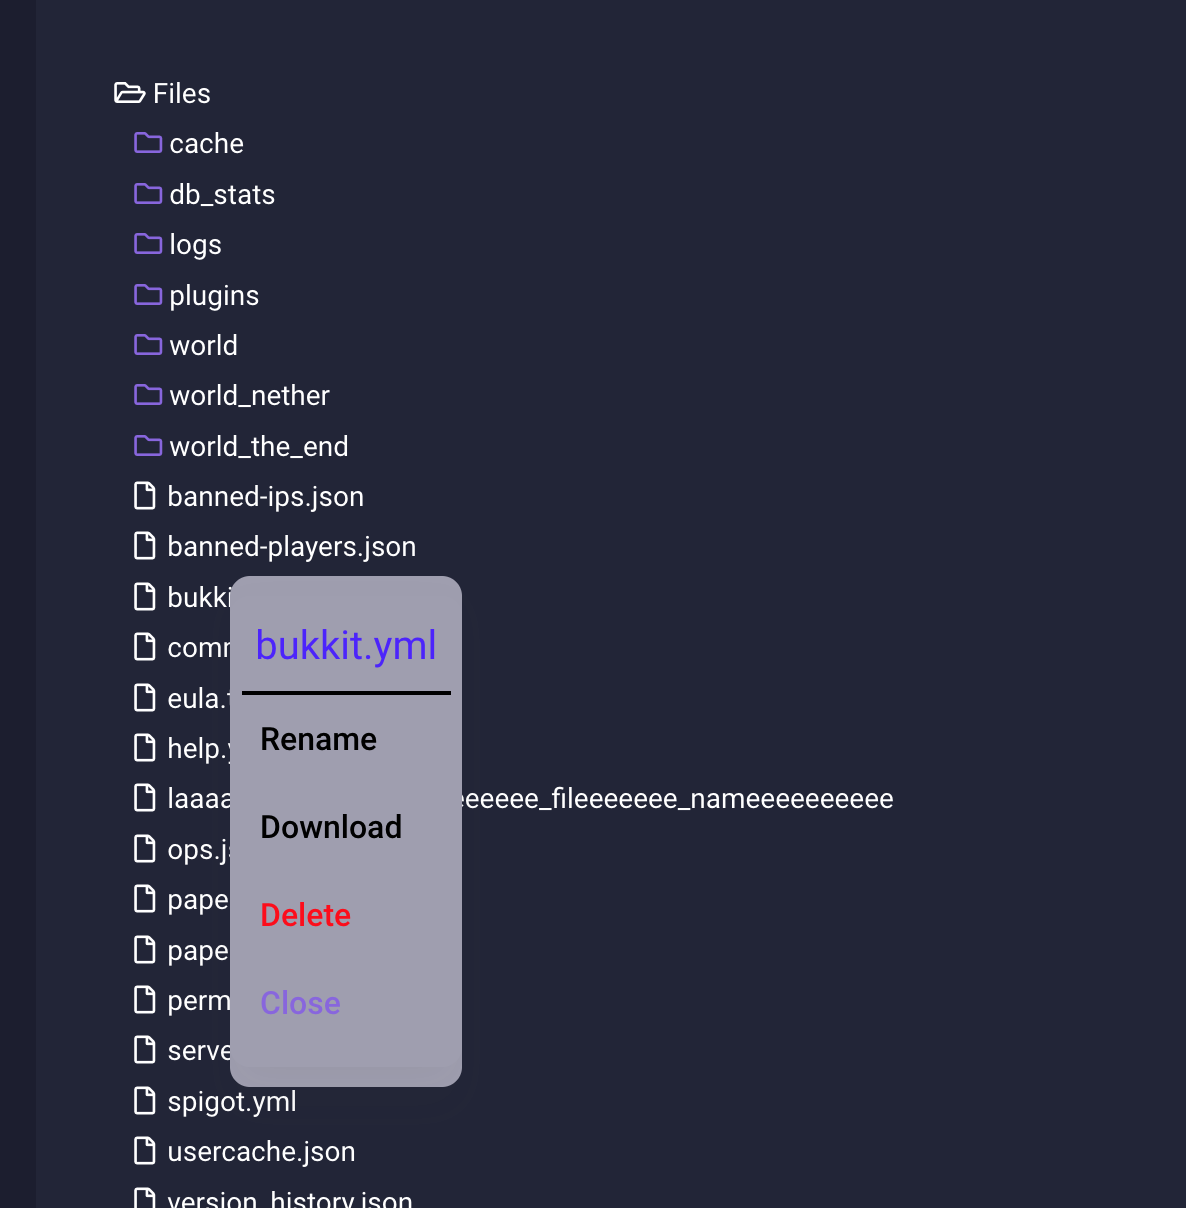
- Right clicking on files (holding down on mobile) will open a context menu. It will give you different options depending upon the file type or directory.
Uploading
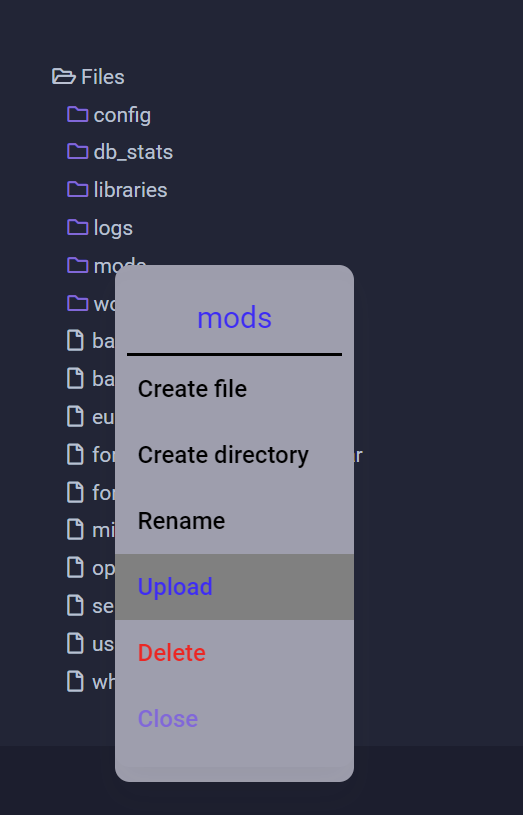
- To access the upload menu you must right click on the directory you'd like to upload to.
- Click upload
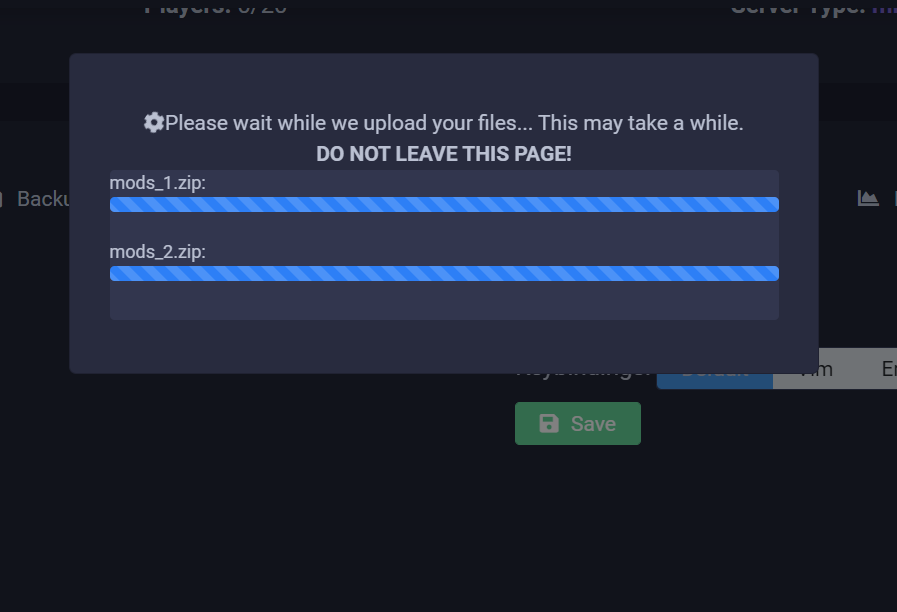
- You may either drag and drop your files into the upload window or you can select them by clicking choose files.
- Then click upload
"stream_size_GB": 1, in app/config/config.json on the host machine to your desired value. I.E. Change the 1 to 10 for 10 GB.
You can also edit this value by clicking the settings cog in the top right of Crafty then clicking config.json
Re-ordering Servers
- To re-order server you must not be searching in the dashboard menu. Server re-ordering is only supported on desktop.
- To change the order of your server click on the name of the server and drag it in the desired direction. Once you're hovering over where you would like to place it. Release your mouse button. Your server is saved in this position automatically
User/Role Configuration
Adding Roles
- Click the gear icon at the top right of Crafty.
- Click add role.
- Adding a role gives you many options.
- First name the role.
- Now add the servers you want to attach to this role.
-
Next you may check off options to allow this role to see different parts of the server.
- COMMANDS (Allows role to start/stop/restart server)
- TERMINAL (Allows role to access the terminal)
- LOGS (Allows role to access server logs)
- SCHEDULE (Allows role to be able to create/delete/edit and access schedules)
- BACKUP (Allows role to be able to create/delete/download/restore and access backups)
- FILES (Allows role to access files. This includes uploading/downloading/deleting/unzipping/renaming/creating/etc.)
- CONFIG (Allows role to access server config. As a basic user this only gives them access to minimal configurations.)
- PLAYERS (Allows role to access player config. This allows them to OP, Kick, Ban, etc)
Adding Users
- Click the gear icon at the top right of Crafty.
- Click add user.
- Give the user a username.
- Give the user a password (Password must be at least 6 characters, have a capital letter, a number and a symbol [v4.1])
- Repeat password
- Gravatar Option: Crafty now has Gravatar integration. You may input your Gravatar email address to add your icon. This email is strictly for Gravatar use only. Arcadia technology does not have access to this email whatsoever. It is stored locally in your database.
- User language: To change your user language select it from the dropdown. If the language is disabled it is due to the fact that it is incomplete. If you would like to become a translator and translate Crafty please open a ticket in our Discord.
- Assign this user account to role(s).
-
User permissions.
- Allow the user to create servers. (If Quantity is -1 they can create an unlimited number of servers.)
- Allow the user to create a user account. ((If Quantity is -1 they can create an unlimited number of users.)
- Allow the user to create a role. ((If Quantity is -1 they can create an unlimited number of roles.)
Troubleshooting / FAQ
How do I import a Forge Server
Installing Forge Via Crafty Creation Tool
- Create server using Crafty's server creation tool with desired versioning.
- Replace `nogui`with the `--installServer` flag to the arguments in your startup string.
- Click the start button on Crafty. This will start the forge installer.
- Continue with step 3 below.
Forge 1.18 or 1.19
- Setting up Forge with Crafty can be a tricky one, as newer versions of forge require an installer.
- What you will need to do is set-up your forge server locally first, zip it up and import it into Crafty.
Here are the steps to get Forge server running:
- STEP 1 Run Forge Installer, select directory like `/forge` to extract to. After doing so zip the directory `/forge` to a archive called `forge.zip` for example.
- STEP 2 Click 'Create a Server', and follow the instructions in zip import. (The Import should be pretty quick.)
| Import field | Example |
|---|---|
| Server Name | Forge Test |
| Server path | <path to zip>/forge.zip |
| Select root dir | Select 'forge' or whatever the parent directory of /libraries is |
| Server Executable file | libraries/net/minecraftforge/forge/[your-forge-version-do-not-copy]/[your-forge-version-do-not-copy]-server.jar |
| Min Memory | 4GB (or whatever) |
| Max Memory | 4GB (or whatever) |
| Server Port | <Your choice, I left as default 25565> |
- STEP 3 When the forge server has been imported we are going to need to do a little bit of deconstruction of the .bat/.sh file created by the Forge installer.
java -Xms4000M -Xmx4000M @libraries\net\minecraftforge\forge\[your-forge-version-do-not-copy]\win_args.txt nogui
java -Xms4000M -Xmx4000M @libraries/net/minecraftforge/forge/[your-forge-version-do-not-copy]/unix_args.txt nogui
- STEP 4 You should now be good to start the server, it will take a moment for information to display on the Terminal because Forge servers are chonkers.
Usage
Servers
Updating Servers
Java
- Enter a direct download URL in your server config.
- Click save
- Click update executable.
Crafty will now backup your server and update the executable.
Bedrock
Different from Minecraft Java Crafty keeps track of the Minecraft Bedrock repo. You do not need to enter an executable download URL.
- In server config click "update executable"
Crafty will now backup your server then update the entire Bedrock package.
Server Metrics
Server metrics will allow you to change the viewing period moving the "Metric Period" dropdown in the top left corner of Crafty.
To hide lines on the graph please click the color box to the left of the line description.

